Purpose:
Panasonic bundles by default, include all Mandatory and Recommended installations. They also include optional installations, which take up disk space, even when compressed. This tutorial will display how to change a packaged Bundle and re-package it back up for distribution.
Procedure:
-
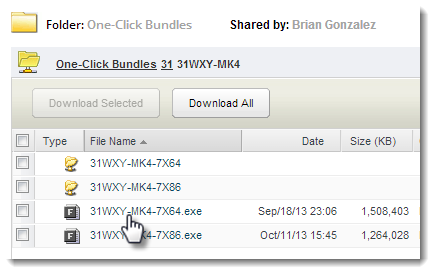
Download the desired bundle from the following site: http://goo.gl/EYtVm5
-
Download the large .EXE files and download by clicking directly on the Filename.
-
-
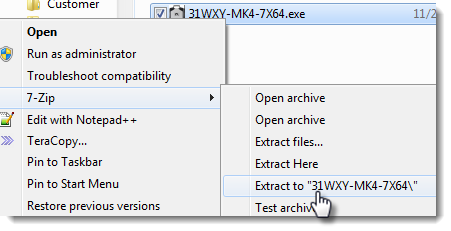
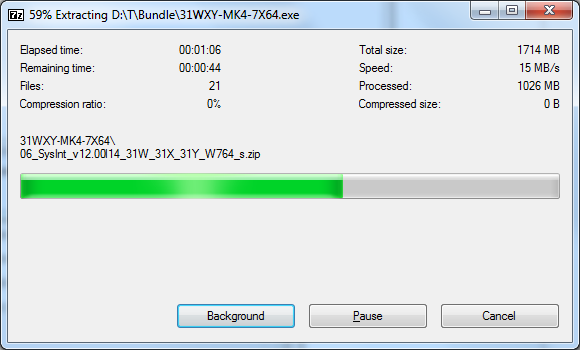
Extract the large .EXE into a sub-folder using the latest version of 7-Zip (currently 9.20): http://www.7-zip.org/download.html
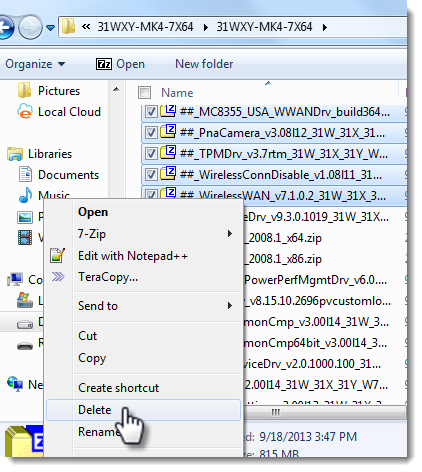
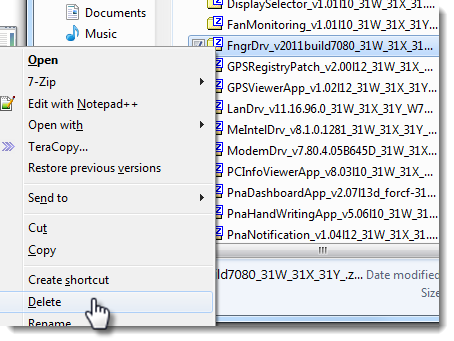
- Note: Be careful deleting the Mandatory and Recommended installs, as some of them are vital for the unit to function properly.
-
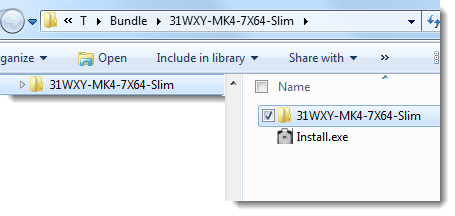
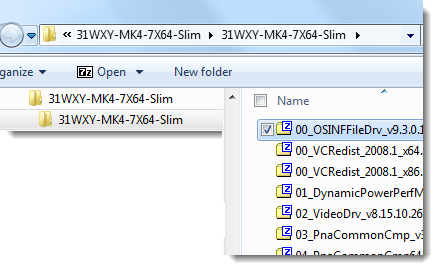
Once extracted, delete the undesired .ZIP files from the sub-folder and rename the root folder and sub-folder (contains the .ZIP files) to notate the change.
- Note: The name should not contain any spaces as well as any under-scores.

-
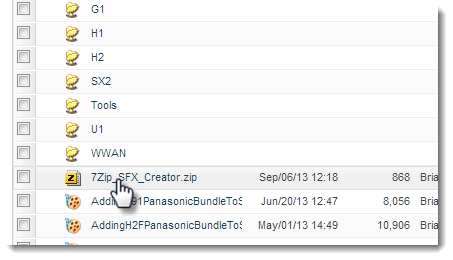
Download the “7Zip_SFX_Creator.zip” package from panaconsulting:
-
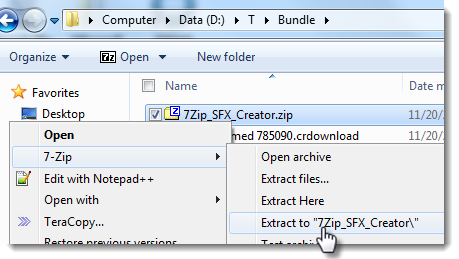
Extract the “7Zip_SFX_Creator.zip” archive into a sub-folder.
-
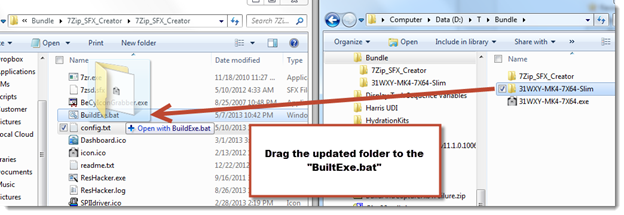
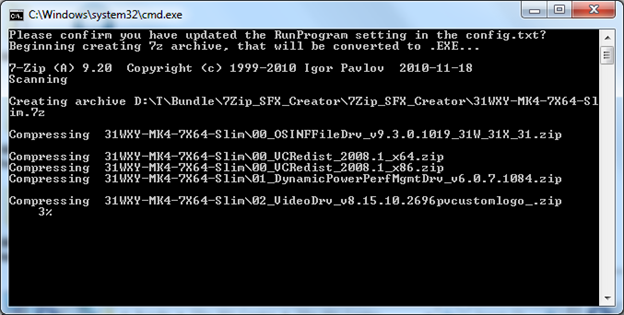
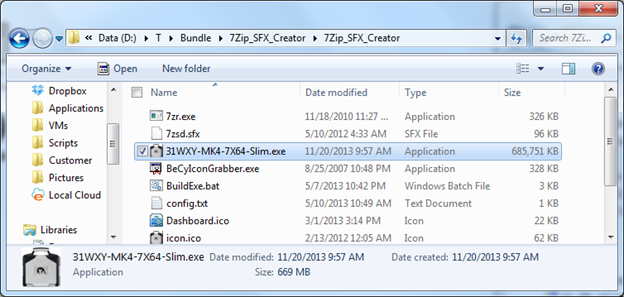
Drag the updated Bundle’s root folder on top of the “7Zip_SFX_Creator\BuildExe.bat” file. This will auto-generate an updated large .EXE file in the “7Zip_SFX_Creator\” folder.
*If further support is required, please contact imaging@us.panasonic.com
Links to7Zip_SFX_Creator are not working. Can you they be posted?
Howard,
I’ve actually moved to using WinRAR for producing the Self-Extracting Executable files. Please see the link below an updated guide for producing the bundles.
https://drive.google.com/file/d/0BwHI1r8k8A75QXA0LVdua3JhQ0U/view?usp=sharing
/Brian G
/Brian G